
Leakproof Isn’t a Sticker: How to Reduce Wet-Backpack Returns Before Mass Production
A buyer-focused method for turning a vague leakproof claim into a realistic test brief covering the product, the packed food, repeated use and distribution.
- Published
- Updated
- Author
- ANTUER
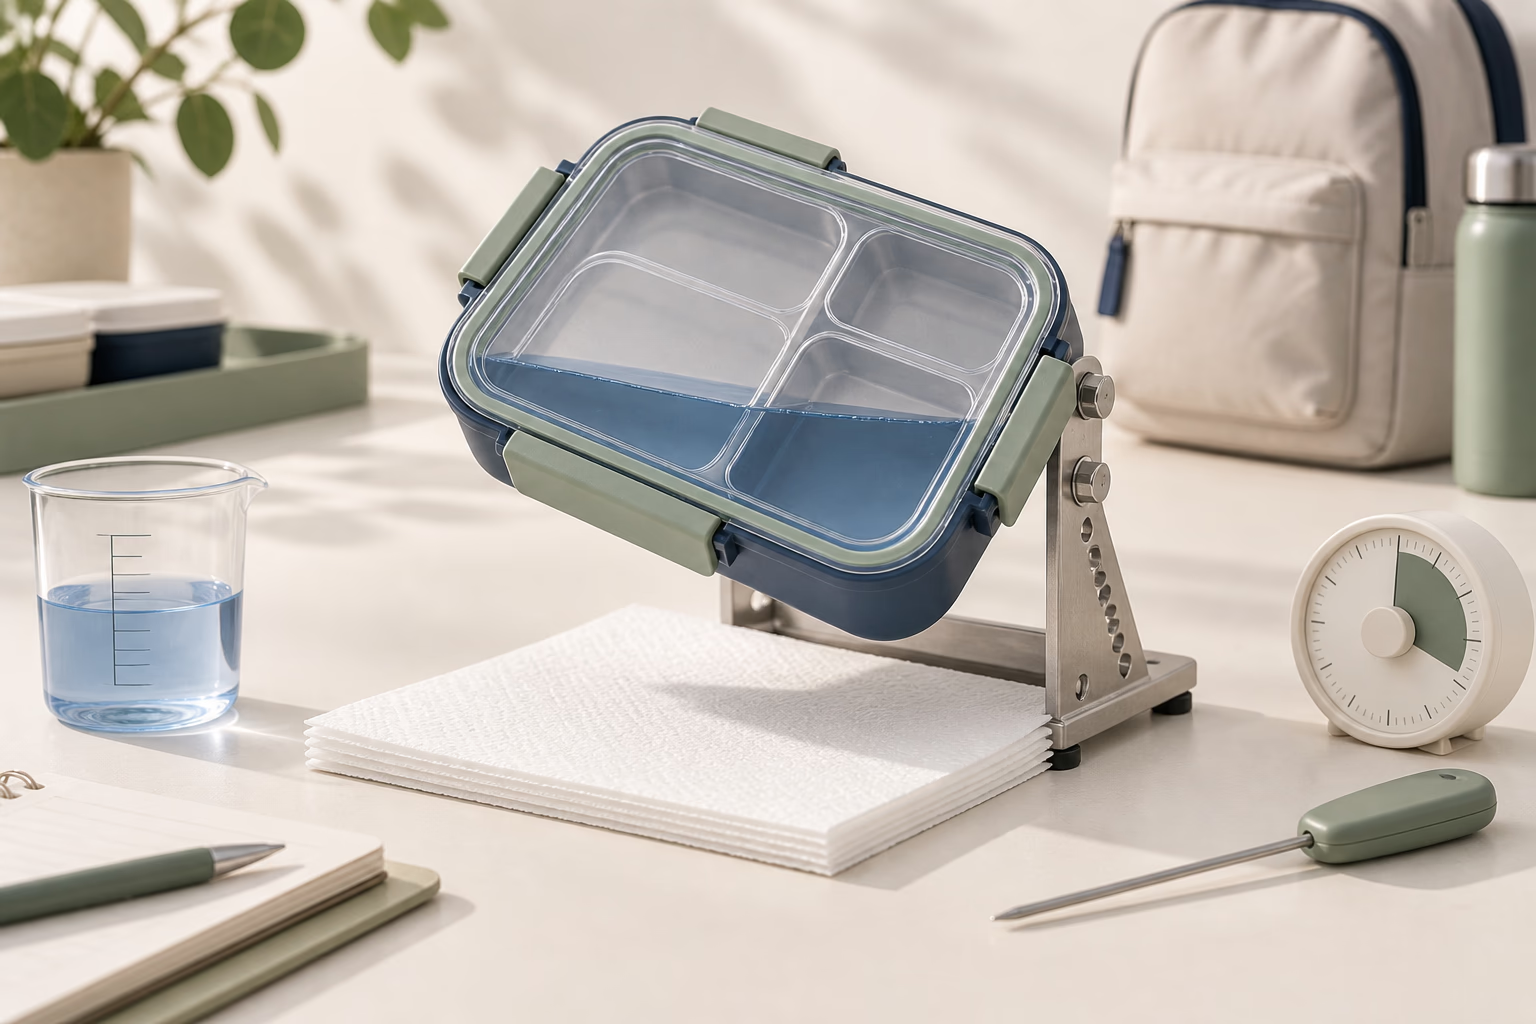
Imagine a sample sitting upright on a meeting-room table for ten minutes without a drop escaping. The package is approved with “leakproof” on the front. Later, a customer carries the box on its side and finds a wet notebook at lunchtime.
The failure did not begin with the online review. It began when “leakproof” was approved without defining what it meant.
This is an illustrative scenario, not an ANTUER test result. For importers, retailers and private-label brands, it shows why a successful demonstration is not enough. Leakage can mean a refund, damaged belongings and support costs beyond the value of the lunch box. Before approving artwork or placing a production order, replace one absolute word with a written use scenario.
First decide what must not leak
Three different promises are often mixed together:
- Outer-container containment: liquid should not escape from the closed lunch box.
- Compartment separation, if claimed: sauce or moisture should not move between the specific sections designed to seal independently.
- Transport resistance: the closed and packaged product should remain functional after distribution stresses.
A bento box may contain food well at the outer seal without keeping every internal compartment liquid-tight. If the divider does not seal against the lid, the product page should not imply that soup can sit beside crackers without transfer.
When comparing bento lunch-box structures, ask which of these functions the selected model is designed to provide. “No transfer between compartments” is not a default requirement for every divided lunch box. It belongs in the acceptance criteria only where the design and sales claim require it.
Leakage is a system problem
The visible leak may appear at a corner, but the investigation should cover more than the gasket:
- lid or base deformation;
- gasket hardness, dimensions or incorrect seating;
- uneven latch force;
- a vent that is not fully closed;
- defects or dimensional variation around the sealing surface;
- filling above the intended level;
- food particles trapped on the seal;
- repeated washing, heating or opening cycles;
- transport impact that changes alignment.
An approved material report cannot establish the assembled product's leak performance. Ask the supplier to identify the sample, component revision and closure instructions used in each functional check. Otherwise, a later “passed” report may describe a different seal or lid from the one ordered.
Write the test brief before asking for a result
1. Name the contents and fill level
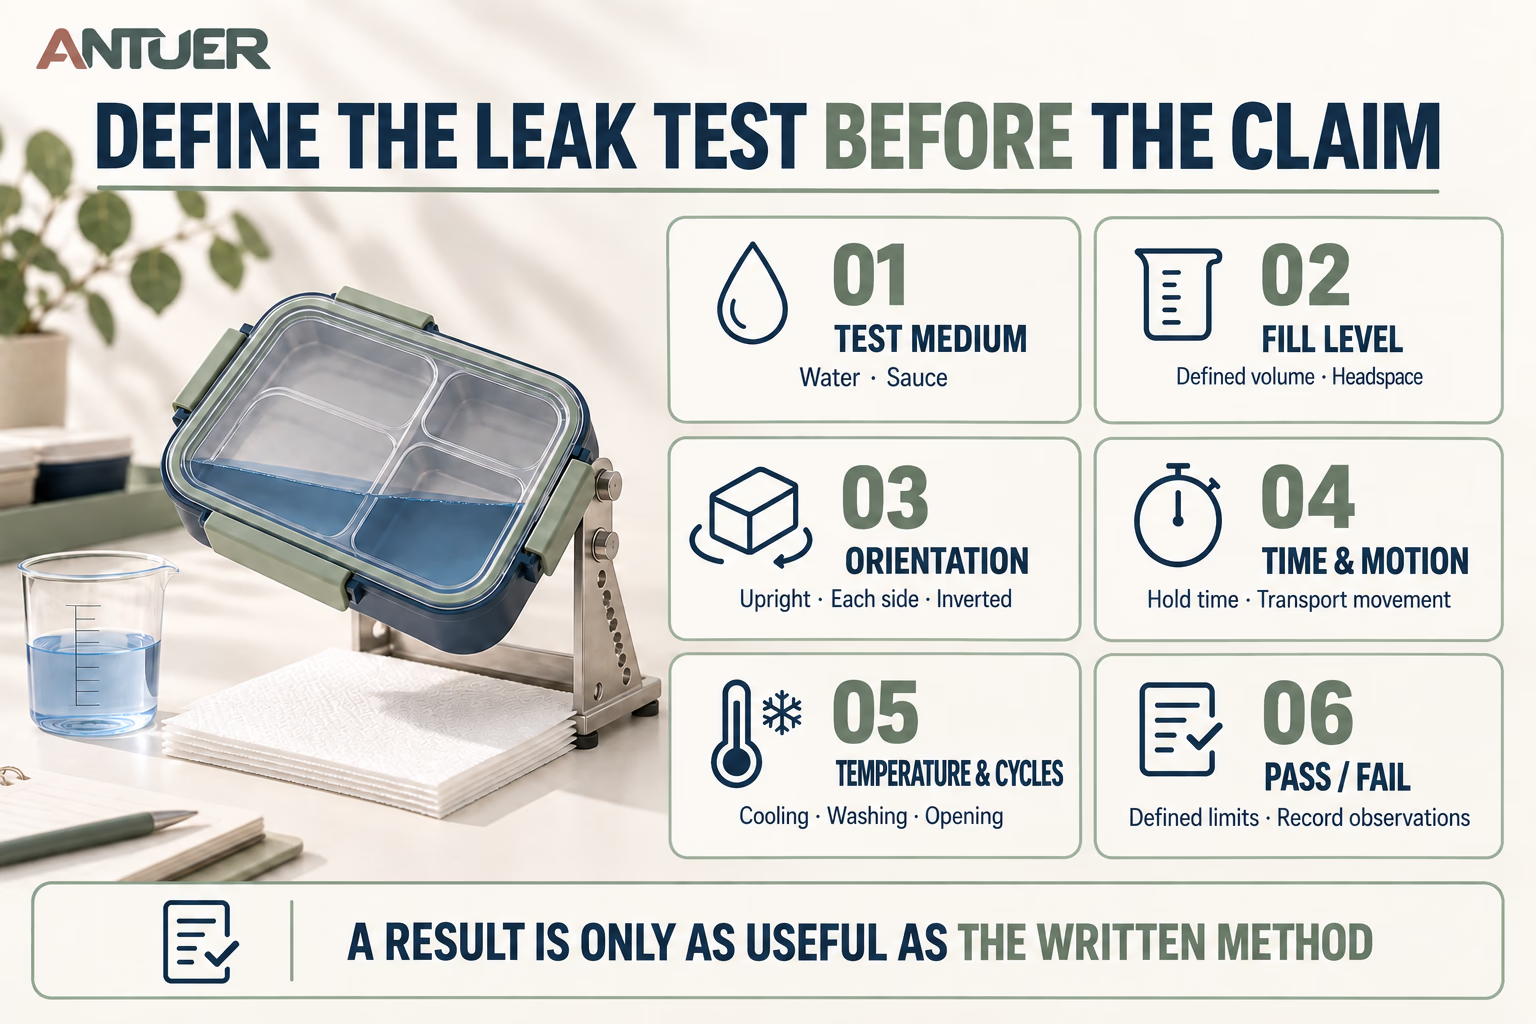
Water offers a consistent starting point for a functional leak check, but a watery dressing and thick yogurt do not behave identically. Agree with the supplier or laboratory which contents or test media represent the proposed claim. Record the volume and temperature. This functional check is separate from chemical migration testing for food-contact compliance.
Define the usable fill level, not just the container's nominal capacity. If headspace is necessary, show the consumer how much to leave.
2. Record closure, position and duration
Specify how to seat the gasket, close each latch and position any vent. Then list the orientations, holding times and movement required by the intended use. A five-second inversion is not evidence of performance during a longer journey.
Keep the exterior dry at the start so spilled filling water is not mistaken for leakage. Record the location of any escape, not simply “fail.” For a separate compartment-sealing claim, check transfer inside the box as a distinct result.
3. Include the care routine the buyer will advertise
Agree on opening, closing, washing and temperature cycles appropriate to the approved instructions, then repeat the functional check. Do not invent a universal cycle count or assume that a dishwasher or microwave claim applies to every component. If the lid must be removed, the instructions and evaluation should reflect that limit.
4. Agree what “pass” means before testing
Write a measurable acceptance rule for each claimed function, together with the observation method. For example, if the agreed outer-seal requirement is no visible leakage during the stated conditions, record it that way. Do not silently add a compartment-separation requirement to a model sold only for food organization.
A usable record identifies the sample and revision, test conditions, result for each unit, failure location, photos and person responsible. A short video can illustrate the method; it does not replace the complete record.
5. Check function after the relevant shipping exposure
ISTA distinguishes screening tests from simulations and retailer-specific tests; selecting one depends on the distribution route and decision being made.[1] Its guidance calls for current procedures, representative products and packaging, and acceptance criteria defined before testing.[2]
Once the selected transport test is complete, repeat the buyer's agreed closure and leakage checks. This is a SKU-specific verification step, not a claim that all ISTA procedures prescribe the same leakage limit. For the packaging side, use the carton damage and shipping-space checklist.
Move from one golden sample to production control
A perfect hand-carried sample does not describe a production lot. Before mass production, agree on:
- the approved gasket and component materials;
- critical sealing dimensions and acceptable variation;
- assembly method and gasket-seating checks;
- functional-test frequency and the responsible person during production;
- finished-lot sampling and acceptance criteria;
- how failed units are isolated and investigated;
- change control if a mold, resin, seal or sub-supplier changes.
Do not accept a passed retest without recording what changed and which units were affected. A replacement gasket, revised assembly method or new mold setting may require the agreed checks to be repeated. The AQL and defect-specification guide explains why lot sampling and a clear definition of failure must work together.
Packaging can create or prevent a leak
Ask the supplier to show the product in its actual retail pack. Check whether an insert presses on a latch, whether parts can rub, and whether the lid is exposed to impact. Review the shipping configuration for the intended route instead of assuming that packaging suitable for a store delivery also covers individual parcel delivery.
The commercial rule is straightforward: design the product, packaging and instructions around reasonably foreseeable use, then keep the sales claim inside the conditions actually assessed.
Make the claim as precise as the test
Depending on the evidence, “leak-resistant when correctly closed” may be more accurate than “100% leakproof.” Even the narrower claim needs support. A model may be suitable for moist foods but not free liquids, and its compartments may organize food without forming independent seals. Put important limits beside the claim, not only in fine print.
Precise language is not weaker marketing. It helps the right customer choose the right product and gives customer service a clear, consistent explanation.
Before requesting samples, send ANTUER your intended foods, carrying conditions and proposed retail wording. These inputs make it possible to discuss a relevant structure and a project-specific verification brief before packaging and production are approved.
Sources
- ISTA Test ProceduresInternational Safe Transit Association
- Getting Started with Design & TestingInternational Safe Transit Association
Related products
Formats to explore
Apply it to your project