
Your Logo Is a Manufacturing Process: How to Specify Decoration That Survives Use
A practical guide to approving logo placement, print or transfer construction, durability and food-contact boundaries before decorated goods enter mass production.
- Published
- Updated
- Author
- ANTUER
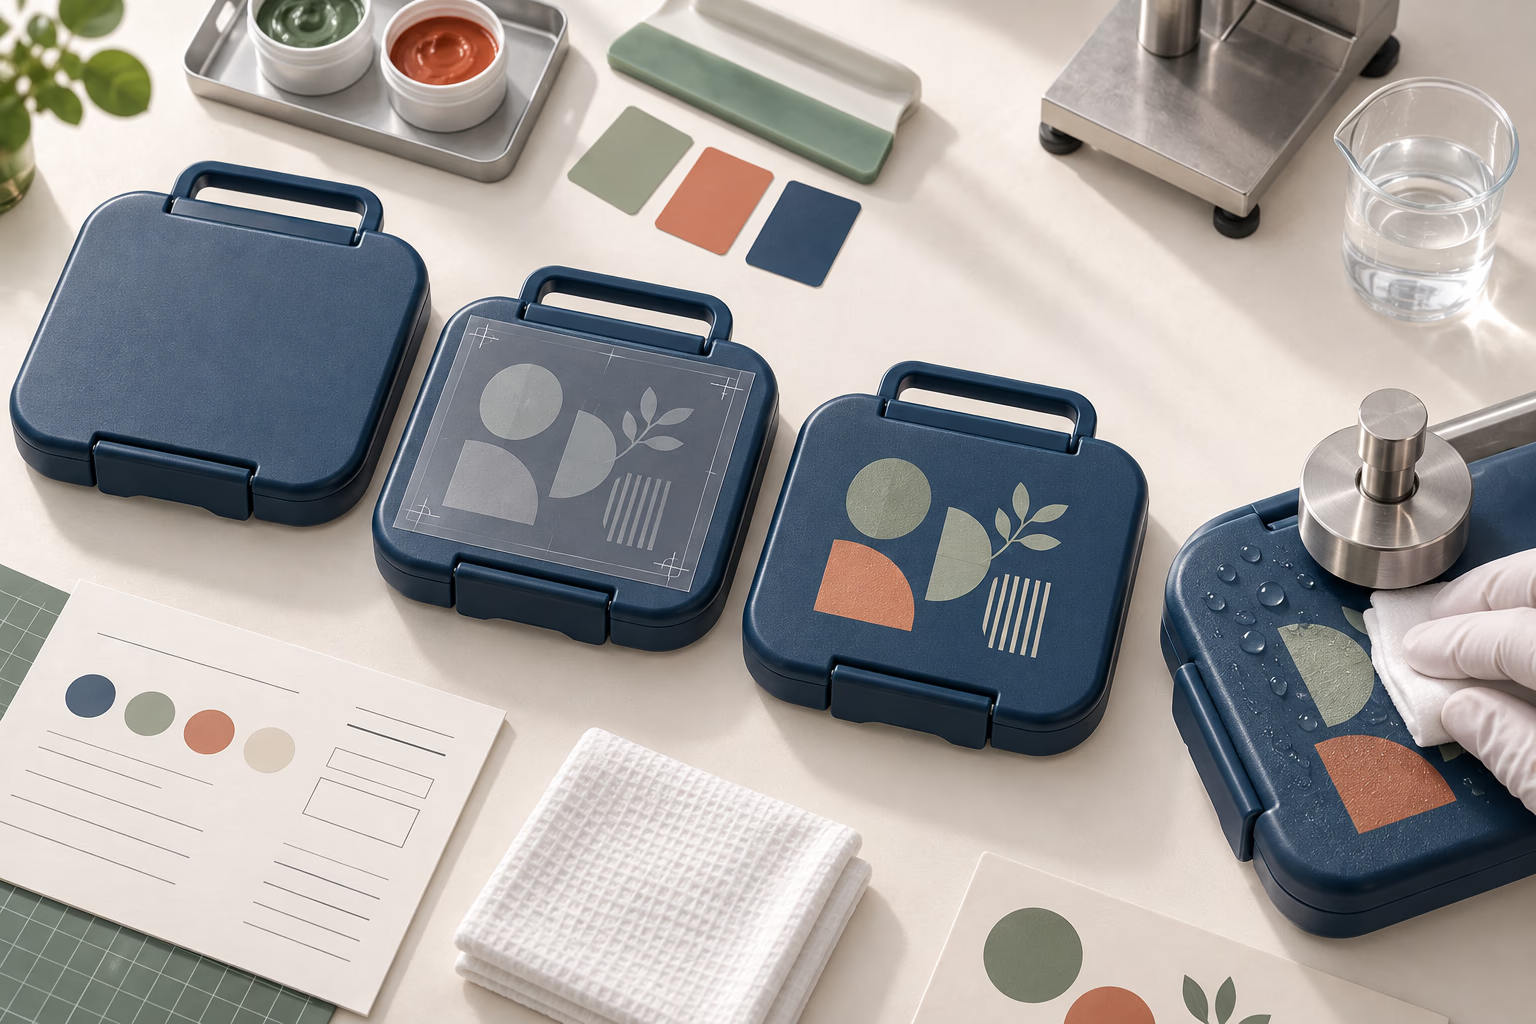
A buyer approves a crisp logo on a lunch-box lid. The harder question is what that logo will look like after the customer washes the box, opens the latch every day and carries it against other items in a bag.
If the image peels or rubs off, the retailer handles the complaint even when the container still works. Replacing the product, answering the customer and checking remaining stock can cost more than the original decoration.
Approve the artwork and the way it is applied together. For a first order, that means defining where the logo goes, the cleaning claim, what the sample must demonstrate and which changes need a fresh approval. Our private-label customization guide places these decisions within the wider sampling and production process.
Place decoration according to contact and handling
Start with a marked drawing of the assembled product. Identify:
- surfaces that directly contact food;
- surfaces that may touch the food-contact side when stacked or nested;
- grip and latch zones exposed to repeated fingers and oils;
- dishwasher, sink and drying exposure;
- carton contact points that rub during transport;
- areas hidden or distorted after assembly.
For inks applied on the non-food-contact side, the EU GMP regulation addresses transfer through the material or by contact during stacking, and prohibits direct contact between the printed surface and food.[1] Review the finished construction and destination market before approving the location. An exterior logo can still face the inside of another lid when parts are stacked at the factory.
FDA also describes food-contact substances broadly, including components used in packaging and food-contact articles rather than only the base plastic.[2] “Food-grade container” is therefore not a substitute for reviewing the decoration inputs and their intended placement.
Choose the process after defining the use
Decoration methods offer different design and production trade-offs:
- Screen or pad printing can suit simple graphics, but adhesion and coverage depend on substrate, geometry and curing.
- Heat transfer or in-mold approaches can carry more complex graphics, but edge behavior, registration and process compatibility need review.
- Labels can simplify versions and variable information, while adhesive performance, water exposure and recyclability communication need consideration.
- Molded or embossed branding avoids a surface ink layer, but changes tooling, visibility and flexibility for future artwork.
For a seasonal graphic, compare setup cost, minimum quantity per design and the cost of switching artwork. For a repeat core range, put more weight on consistent positioning, repeatable color and wash performance. These are methods to discuss, not a promise that every method is available on every ANTUER model. Ask for the proposed process, compatible surface and cost before commissioning final artwork.
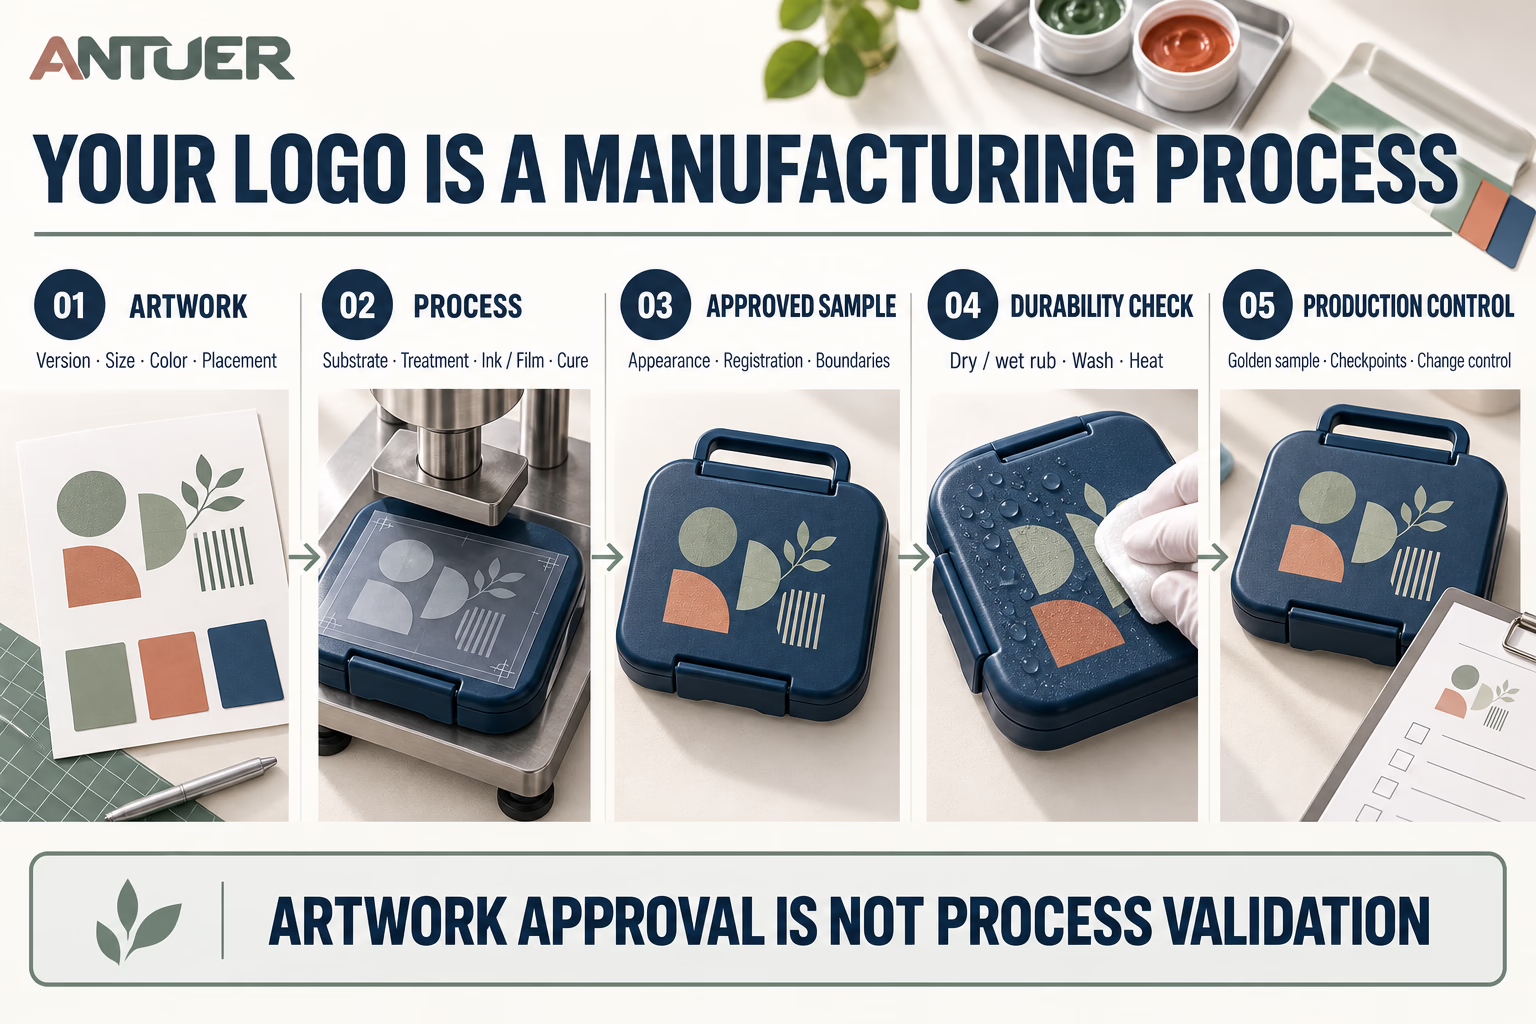
A beautiful sample can still be under-cured
A freshly decorated sample may look perfect while the ink or adhesive has not reached its specified cure. Conversely, a test performed too early can reject a system that would have matured correctly. The sample plan should record decoration date, curing conditions and minimum time before evaluation.
Also check production realities:
- Is surface treatment required, and how is it controlled?
- Can mold release, dust or skin oil reduce adhesion?
- Does a color change alter cure or coverage?
- Are parts stacked while warm?
- Can printed faces rub against one another in the carton?
- Will a second supplier or line use equivalent inputs?
Request decoration samples on the actual part, with the proposed surface finish and colors. A flat color swatch can approve a color direction; it does not establish adhesion on a textured or curved lid. Keep one untested reference and identify the samples used for durability checks.
Test the claim the retailer will actually make
“Durable logo” is too vague. Build an evaluation around the declared use. Possible checks include:
- dry and wet rubbing;
- contact with representative dishwashing solution;
- repeated hand washing or validated dishwasher cycles;
- exposure to cooking oil, acidic foods or sunscreen when relevant;
- scratch resistance under defined force and tool;
- tape adhesion where appropriate;
- abrasion caused by nesting, latching or carton transport;
- readability and appearance after the full sequence.
ASTM D5181-24 is a comparative abrasion practice for printed material on flat substrates using a GA-CAT tester.[3] Have the laboratory check its suitability for the specimen; a curved molded lid may need a different agreed approach. Abrasion results alone do not prove dishwasher suitability or food-contact compliance.
Avoid improvised demonstrations such as rubbing a sample an unspecified number of times with an unknown chemical. They are difficult to repeat and easy to dispute.
Define failure before testing
Agree which outcomes are unacceptable:
- complete or partial loss of the image;
- color transfer to a cloth or adjacent component;
- cracking, lifting, bubbles or edge peeling;
- a visible color shift;
- loss of barcode readability;
- deterioration visible at a specified viewing distance;
- any transfer into a prohibited contact area.
Use an approved sample and marked photographs to show the boundary between acceptable and unacceptable appearance. State the viewing conditions and which areas matter most. A rubbed patch across the brand name and a mark hidden under the base may have different commercial consequences; settle that distinction before inspection.
If a sample fails, record whether the problem is smearing, loss of color, peeling or transfer. Hold the affected decoration approval, ask the supplier to identify the changed material or process, and retest the corrected production-intent sample. Adding more ink or accepting a better-looking replacement does not by itself explain why the failure occurred.
Keep artwork control separate from process control
The final file should contain two connected approvals:
- Artwork control: version, dimensions, colors, orientation, position and legal marks.
- Process control: substrate, pretreatment, ink/film/adhesive system, application method, curing, inspection and durability test.
A change to either side can require reapproval. Replacing an ink with a visually similar one is still a process change; resizing a logo can change ink coverage and stress at an edge.
Buyer takeaway
Before approving the order, ask for three things together: a decorated sample on the selected product, the recorded process behind it and a result against the agreed use conditions. Carry those references into the product inspection specification so repeat orders are judged against the same requirements.
Sources
- Commission Regulation (EC) No 2023/2006 — original printing-ink provisions, official Spanish textreproduced by Spain's BOE
- Food Packaging & Other Substances That Come in Contact with FoodU.S. Food and Drug Administration
- ASTM D5181 — Abrasion Resistance of Printed MatterASTM International
Related products
Formats to explore

Apply it to your project