How to Customize a Bento Box for Private Label
Plan a private-label bento box with a clear brief for colors, logo, accessories, packaging, costs and sample approval before production.
- Published
- Updated
- Author
- ANTUER
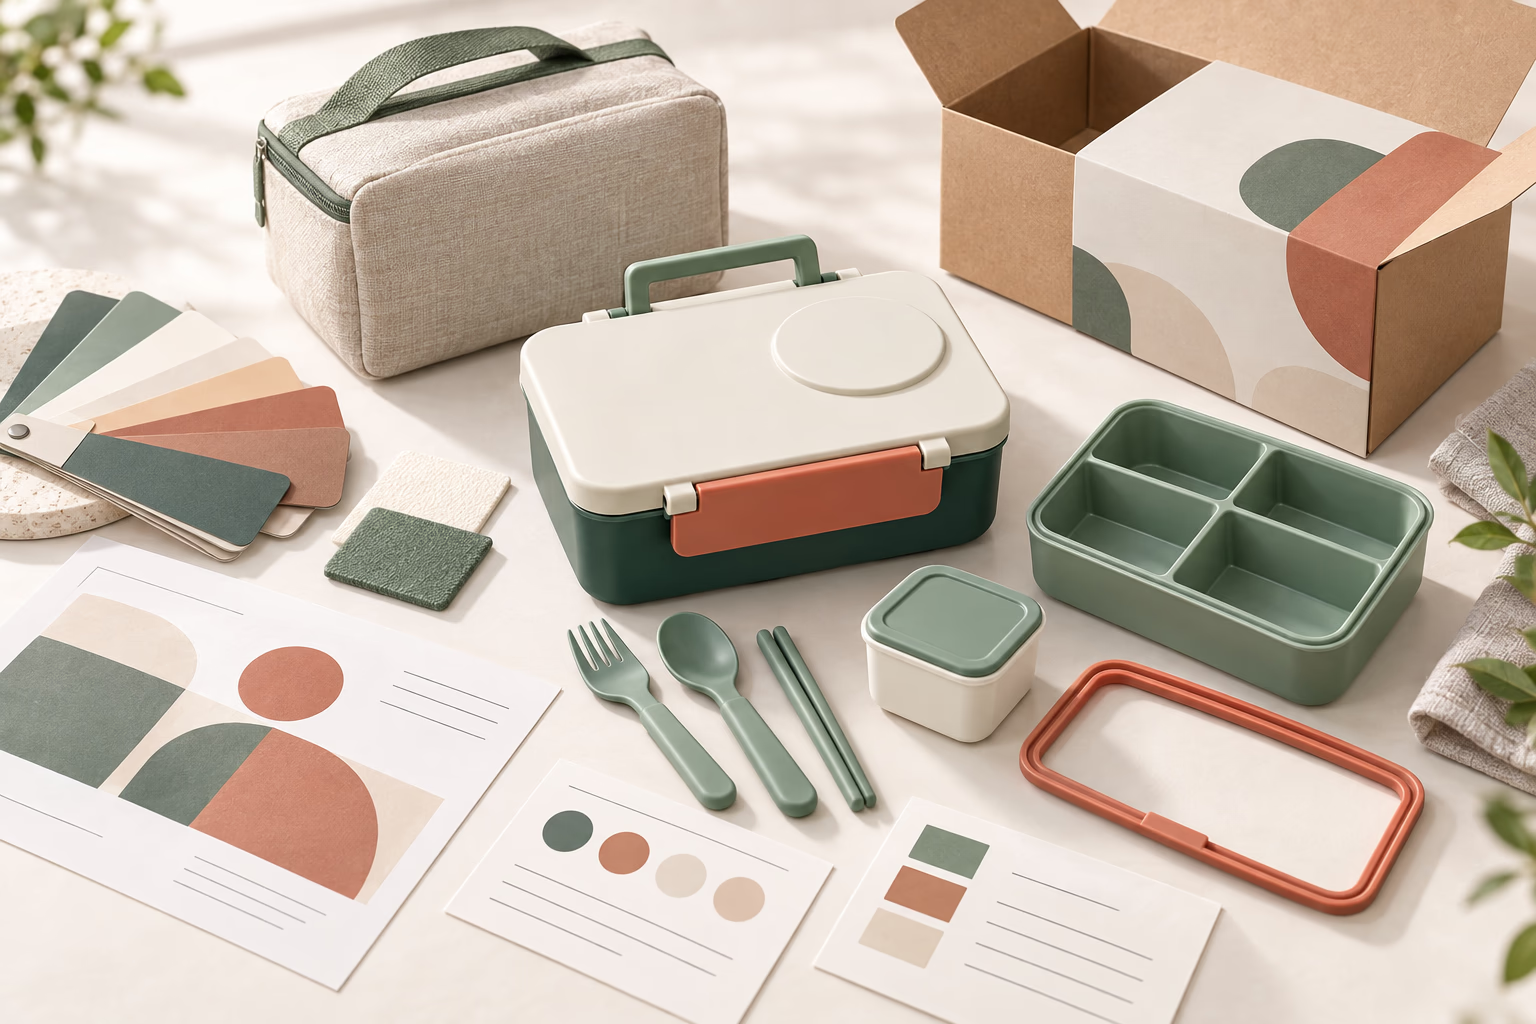
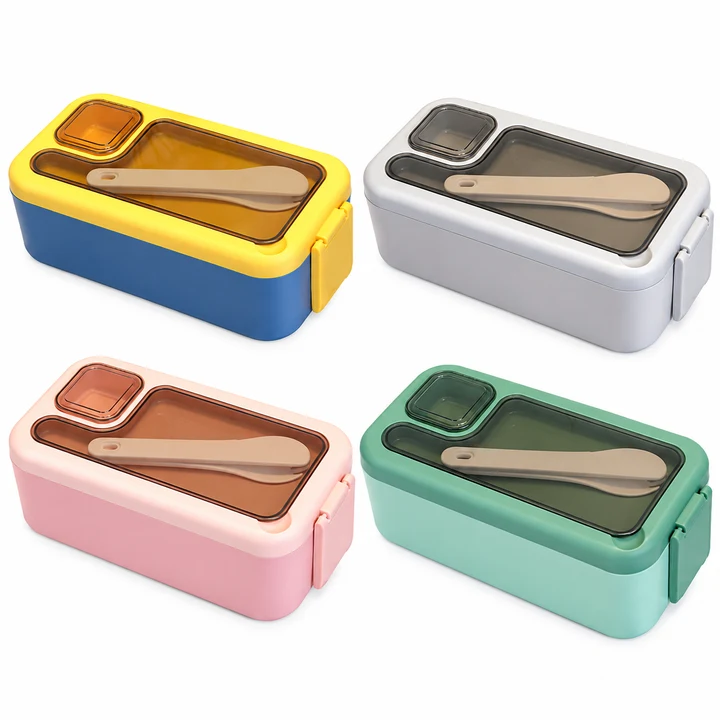
A blue lunch box with your logo sounds like a complete brief. It still leaves room for expensive misunderstandings: which parts are blue, whether utensils are included, where the logo goes and whether the price covers a printed box.
For a brand, importer or retailer, private-label customization means getting the product, branding, quotation and sample to describe the same sellable set. If the structure is still undecided, start with our lunch-box selection guide. Once you have a preferred format, the following decisions help turn it into a project that can be quoted and approved.
1. Decide which changes matter enough to pay for
Separate your requirements into must-haves and preferences. A compartment that fits the intended meal may be essential; a second print position may be optional. This distinction gives the supplier room to propose alternatives without losing the purpose of the product.
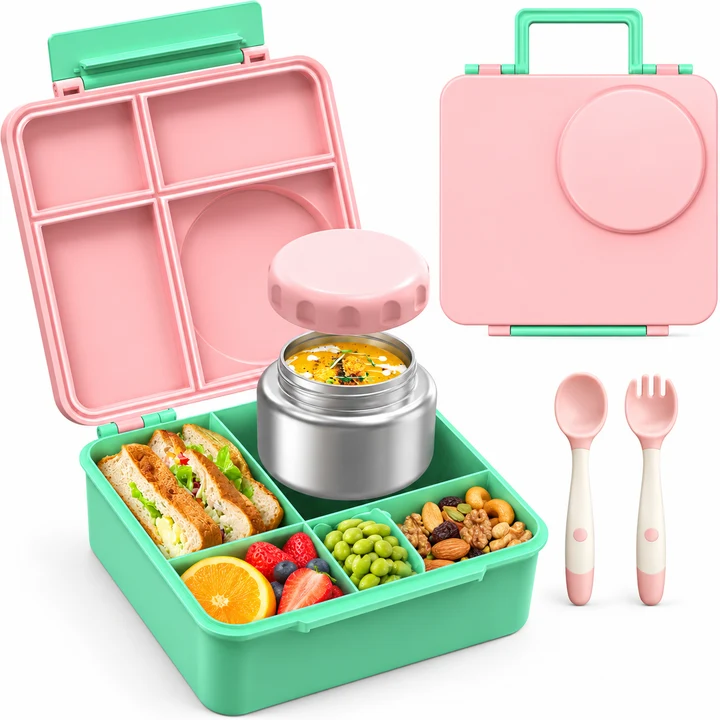
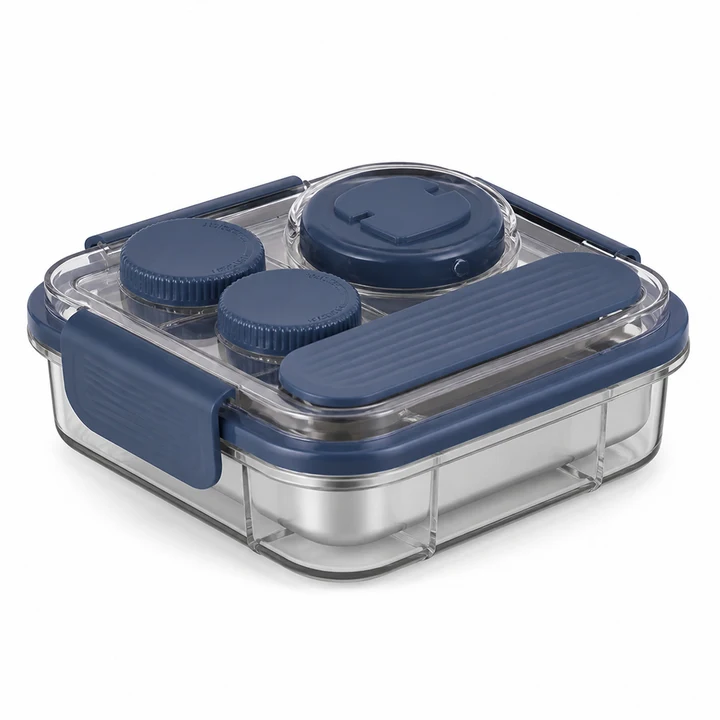
Start with an existing model when its layout, closure and size fit your brief. For example, AT9322's stainless-steel bento format provides a starting point for discussing a coordinated body, lid and inner-component appearance. Its exact component materials, dimensions and supplied set still need to be specified.
If the essential change is a different footprint, compartment arrangement or closure, raise it before commissioning artwork. Ask which existing parts can remain and which require engineering or tooling. For new tooling, also agree ownership, maintenance responsibilities and how later changes will be handled. ANTUER's Customization overview sets out the existing-product and new-development routes.
2. Give every customization a clear approval reference
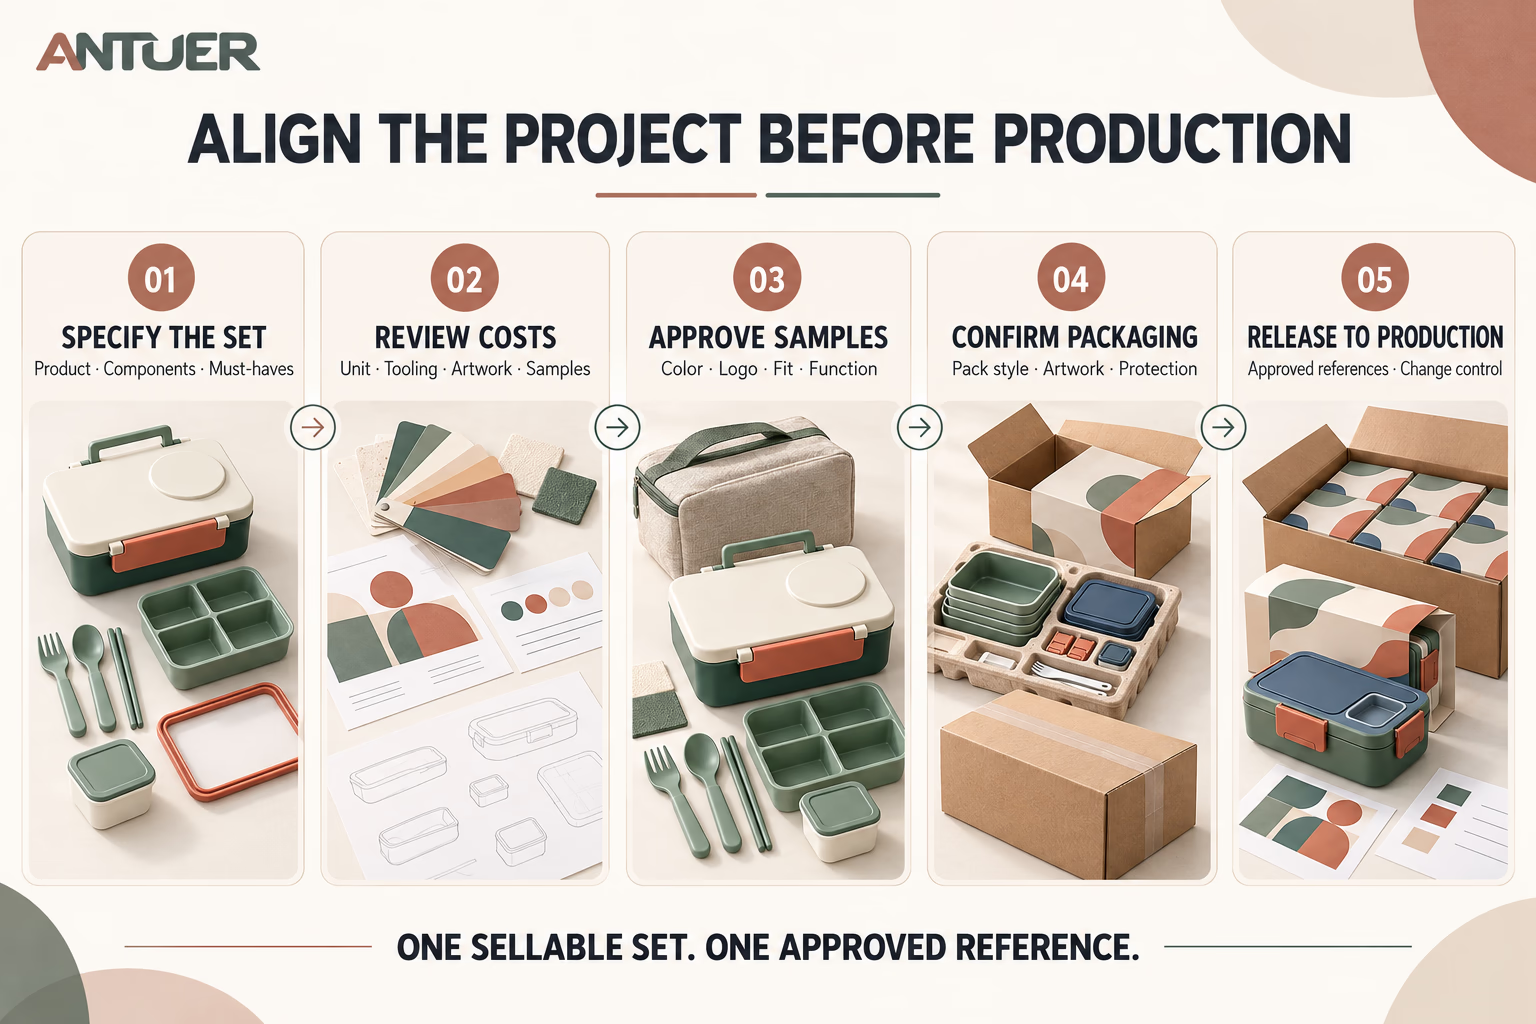
“Same as the picture” is difficult to inspect. Turn each choice into something the sample team and production team can both follow.
| Decision | Put in the brief | Resolve on the sample |
|---|---|---|
| Color | Components to change and a color reference | How the colors look together on the actual materials |
| Logo or print | Artwork version, size and location | Legibility, positioning and suitability of the finish for intended use |
| Accessories | Exact items and quantities in each set | Fit, storage and whether the package holds them securely |
| Packaging | Pack style, artwork, labels and instructions | Product fit, readable information and protection |
A color reference alone does not show how a molded body, flexible seal and printed surface will look together. Approve the assembled appearance. Likewise, a logo shown flat on screen needs checking on the actual lid or curved surface. Our logo decoration guide covers placement and durability in more detail.
3. Understand what drives the minimum order and timing
Ask for quantity requirements by model, color, print and packaging version. A total order quantity does not tell you whether it can be divided across several combinations.
For example, three body colors and two retail-box designs can create six combinations if every color uses both packs. Before expanding the range, ask how those combinations affect purchasing, packing and repeat orders. Prioritize the versions that serve a clear customer need.
Request a cost breakdown separating recurring unit costs from tooling, artwork setup and sampling charges. Ask what starts the production schedule: deposit, artwork approval, sample approval or another agreed milestone. This makes the launch plan easier to manage when a design changes.
4. Review the packed product before approving the artwork
A branded box has to fit and protect the complete set. Check where utensils sit, whether inserts press against latches and whether visible surfaces can rub during shipment. Measure the finished package and master carton before relying on freight estimates.
Tell the supplier how orders will travel: pallet delivery to a retailer, parcel delivery to individual customers, or a fulfillment program with its own requirements. ISTA's packaging design and testing guidance emphasizes choosing tests around the actual distribution environment and agreeing damage criteria before testing. [1]
Our shipping-carton guide explains how protection and carton space affect the wider order cost.
5. Approve the sample for a defined purpose
An existing-model sample helps you assess handling. A decoration sample shows color and artwork execution. A prototype may answer a structural question while using materials or processes that differ from production. Agree which stages your project needs and record anything still provisional.
Separate appearance approval from performance evidence. If the packaging will promise leak resistance, dishwasher compatibility or a particular temperature use, put that claim in the verification plan before printing it.
For food-contact review, provide the destination market, component materials, intended foods and use conditions. For example, FDA's chemistry guidance for food-contact submissions asks for food types, contact time and temperature, and whether use is repeated. It illustrates why a material name alone is insufficient; the applicable review must match your market and finished product. [2] Our food-contact documentation guide provides further questions.
6. Keep approval useful for the next order
Before authorizing production, bring the agreed specification, sample reference, artwork revision, color references, accessory list, packaging files and inspection criteria together. Date the approval and identify any remaining conditions.
Keep the same references for reorders. Require proposed changes to materials, components or decoration to be raised before substitution. Otherwise, a later order can look familiar while differing in a detail the buyer expected to remain fixed.
Start with a brief you can actually send
Send ANTUER your model or reference structure, target market, estimated quantity by version, requested changes, packaging direction and launch window. Mark the must-haves and attach available artwork.
ANTUER can help coordinate product customization, packaging, sampling and production requirements. If you are unsure where to simplify, tell us which constraint matters most—budget, timing, appearance or function—so the discussion starts with a useful decision.
Sources
- Getting Started with Design & TestingInternational Safe Transit Association
- Preparation of Premarket Submissions for Food Contact Substances: Chemistry RecommendationsU.S. Food and Drug Administration
Related products
Formats to explore
Apply it to your project